Giving your home a mini-facelift can be both easy and budget-friendly. Instead of buying new furnishings, why not change the look of your current pieces by giving them a fresh coat of paint?
From ombre colour palettes to metallic finishes, there are plenty of customisation options to make your wooden table or dresser one of a kind!
Before embarking on this fun weekend project, here is a list of key steps to remember when painting your furniture.
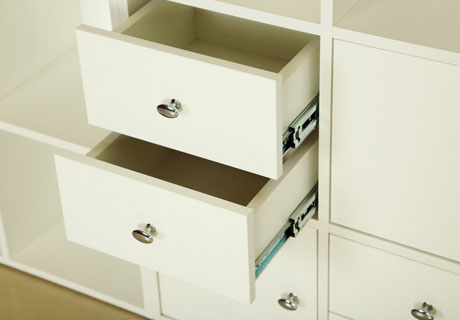
1. Do the prep work
Before you begin, remove any hardware such as cabinet door hinges or drawer knobs that are attached to it. This ensures that your hardware is paint-free when you reattach it. Remember to store them away safely so that you can fix them back in the right spots.
It is also a good idea to give your furniture piece a thorough dusting and cleaning as part of the preparation works. ?
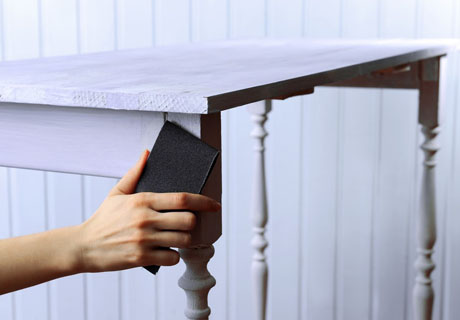
2. To sand or not to sand
Some tutorials may claim that sanding is not required, but doing it can help keep the paint from peeling or chipping.
Sandpaper is measured by its grit size, or the size of the abrasive particles embedded in the material. Using medium-grit sandpaper or sanding block of 80 to 150-grit, sand all the surfaces of your furniture piece to gently rough up the surface. The idea is to remove any glossy varnish to give the primer and paint a good surface to adhere to.
3. Always apply primer
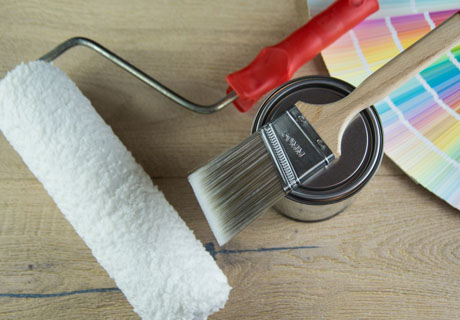
Applying primer is a vital step in the process, as it helps the paint to stick better onto your furniture piece. There are different ways to do it – you can use a small foam roller or paintbrush to brush it on, or simply use a spray primer.
It is advisable to apply a few thin coats of primer. After doing the first coat, let it dry before sanding the surface down with fine-grit sandpaper. Repeat these steps once or twice more, while using a tack cloth to remove any sand dust in between.
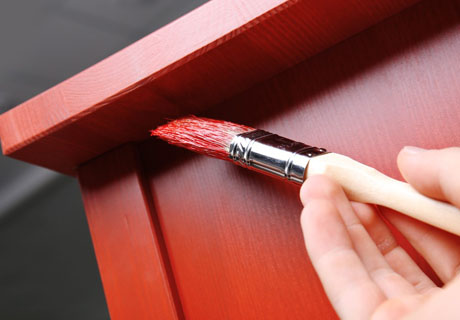
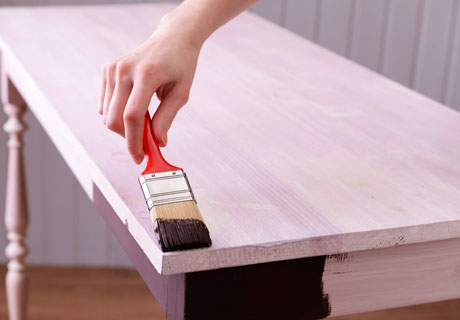
4. Get painting
Just like the primer, painting your furniture piece should be done over several thin coats instead of a single thick coat to prevent an uneven paint job and paint peels.
Also, do not skip sanding and dusting with the tack cloth between coats to get rid of any residue and debris. This will help ensure a smooth and even finish!
5. Add protection
The final step to completing the process – protect it! Using a foam roller, apply a thin layer of protectant while carefully removing any bubbles that may occur. You can choose a satin or gloss finish depending on how you want your repainted furniture piece to look.
Reattach your hardware and voila, you are done! Do allow the sealed paint to dry completely over a few days before using your refurbished furniture piece.